Personalize Your Art With Matting
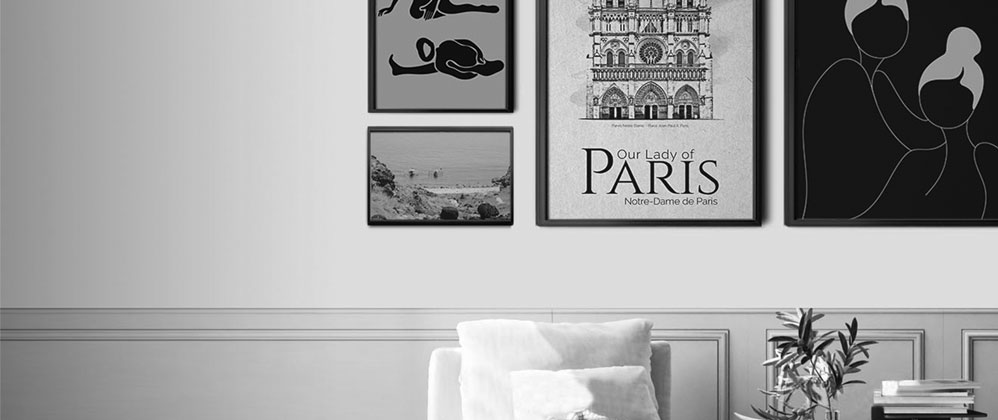
There are many ways to personalize your art and the room. One of these is through matting. Matting protects the artwork while making it look stunning. Mats come in different colors, sizes, and materials to create the right mat board frame for your artwork. Matting also provides other practical functions and visual purposes.
Why add matting?
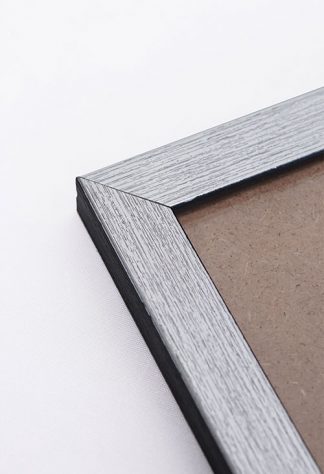
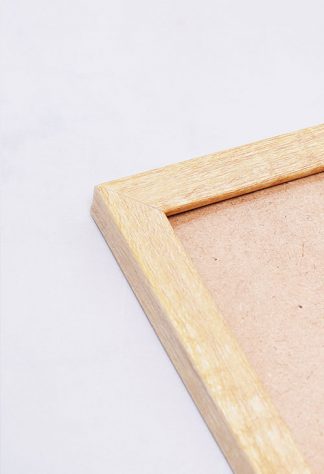
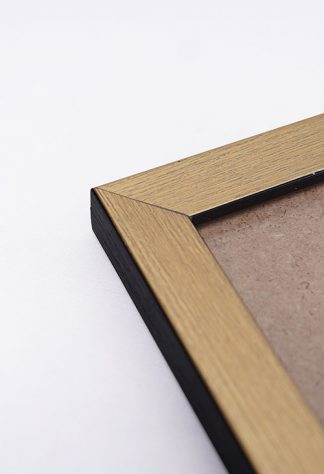
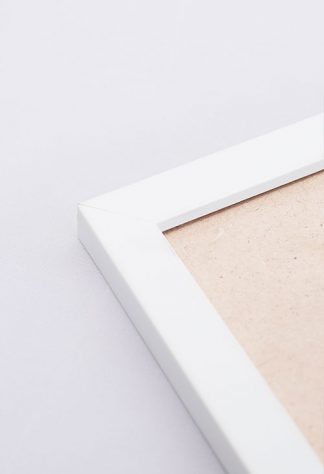
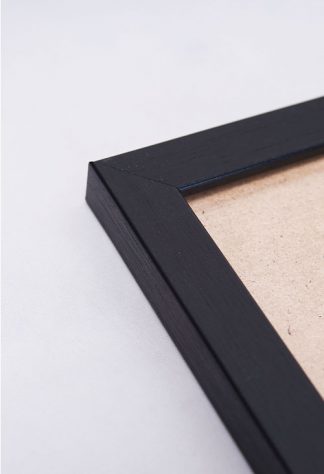
Mats are a significant part of the visual appearance in framing the art. Matting can be used to enhance color in the art or room decor. It is also used to accent a shape in the art or increase the size to make a dramatic display. Matting consists of a single mat board with a rectangular opening.
Primarily, matting protects the art as well as the hanging mechanisms installed with it. It also allows air circulation between the art and the glazing material. This air space prevents the formation of moisture that may cause mildew, mold, and buckling.
Types of mat materials
There are two types of mat materials: acidic and “acid-free”. Older mats such as wood-based paper are usually acidic. While newer mats are acid-free. These are important for the long-term protection o the piece because acidic mats can cause mat burn. Mat burns are brown marks that creep in from the outside onto the displayed piece itself.
It is recommended to be careful in choosing the type of framing. Artworks are expected to last long and they can be damaged by improper mat boards. Mats can be cut using computerized mat cutters and these come in various range of sizes and allow mats to be cut with accuracy and precision.
They can also be cut by hand, but this introduces the possibility of human error. It is a common practice for a backing board to be applied to the back in order to secure the artwork, before framing.
How to mat and frame the artwork
- Choose your artwork
- Measure the size of the opening you want your art to have. You can cut the mat with the use of a metal straight edge and utility knife.
- Lay the page face down on a clean work area. Apply a long piece of tape on the top of the page, with only half the width of the tape overlapping the paper.
- Turn the page picture-side up and hold the pre-cut mat over the page to decide where you want the image in the opening. Do not let the exposed tape touch the mat until you have decided the placement.
- Turn the mat and attached page face own on your clean work surface. Press firmly on the back of the tape to ensure it is well attached to the mat. Avoid touching the front side of the mat with your hands, as you may smudge it with dirt.
- Place the mat and attach the art to your frame.