Try These Amazing Watercolor Techniques
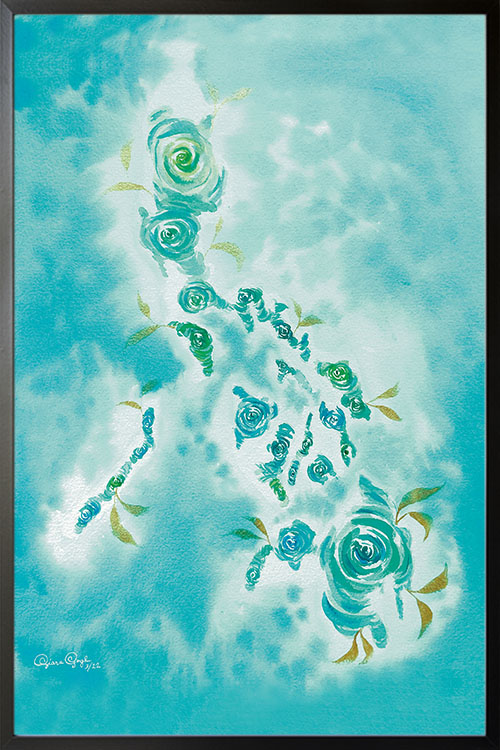
Are you still wondering why many people are so engrossed with watercolor paintings? Then you just have to look at some of them to see how awesome they are. This painting may be intimidating for some, especially for beginners, but there are many techniques that you can try to see and experience the beauty and versatility of watercolor painting. Read on to learn more about these techniques and you can try some of them and have them displayed in your rooms.
Watercolor washes
Laying watercolor wash can be done on a wet surface or a dry one. Although mistakes can be committed, the secret is not to try fixing them. Just let them be since adding another layer once the original stroke has dried is more obvious. Washes are the backbone of watercolor painting. The wash can be differentiated by the size and swipe of the brush. Washes are used to fill in large background areas, or to create underlying forms that will have more detail and deeper tones.
Wet-In-Wet painting
This is one of the basic techniques in watercolor painting. You may not realize it, but you have probably done this technique before. Start by brushing water onto the paper. Dip the brush in paint and spread it over the water wash. As such, the paint will weather and diffuse.
Underpainting
This technique is a monochrome wash that is used for the first layer of the painting. Add layers of transparent washes over the underpainting and these will provide a realistic and luminous effect.
Gradients and color blending
In a simple watercolor wash, only a single color is used. However, depth can be added by using more hues in a gradient, You can start adding fresh watercolor to a wet paint surface. The second color can have a more intense version of the same hue of a different hue. With a wet surface, the colors will blend slightly and create a natural gradient in the tones.
Layering watercolors
Dimensions can be created by adding layers of the watercolor once the color of the paint has dried. Be sure that the paper is also dried, or else the colors will unwantedly blend together and get messy. Do not add much water to the second color since this can dampen the initial color, thus blending the colors.
Dry brush
This requires little paint and water to create a scratchy brushstroke. This can be used for an entire painting but is still perfect for creating texture. Mix your pigment, making sure that the paint mixture is not that wet. Dip the dry brush into the paint and remove excess moisture. Brush lightly across the surface and this can highlight the texture of the paper.
Watercolor blooms
Blooms can be created when very wet paint spreads on a drier area of a painting. When you apply wet paint on a damp wash, the liquid forces the original pigment out and creates irregularly shaped splotches. Lay down a colorful wet wash and let it dry a little. Load the brush with water and touch it lightly to the paper. Blooms are created by drops of water.
Lines, Hatching, and Crosshatching
Lines of any size and shape can be painted with the use of watercolor. Place lines beside each other or layer them perpendicular to each other for a hatching or cross-hatching effect. For clean lines, you can use a small, pointed brush and load it with pigment with the use of a dash of water. Paint a line on the paper and the shade can be determined by the amount of water used.
Sponge painting
A textured sponge is also an unimportant tool to paint foliage on trees or sand on a beach. All you need to do is to dip it into the pigment and press it on the paper.
