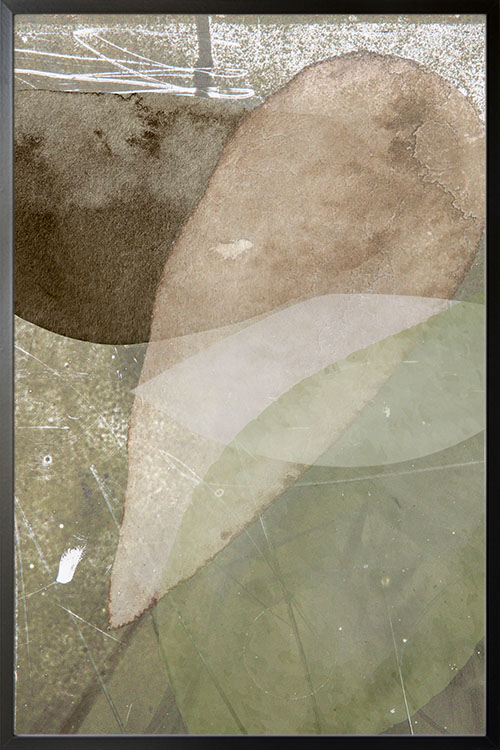
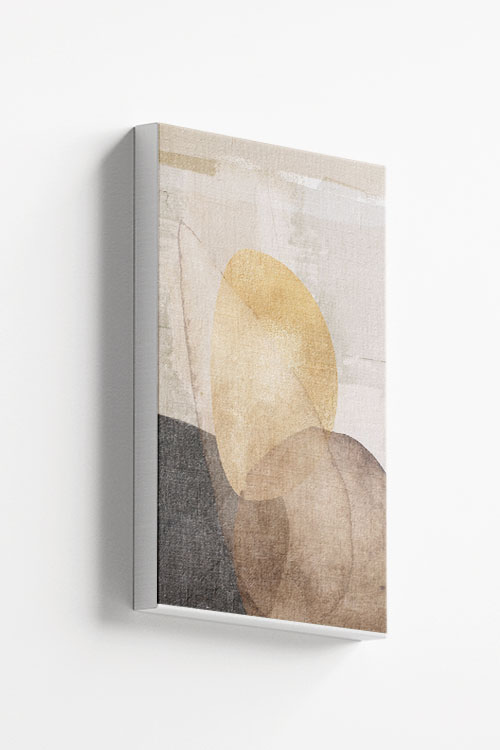
Bringing the outdoors in has never looked so good with these earthy textured art piece. A perfect addition to your space for a captivating transformation.

These textured stone shapes perfectly capture the essence of the Earth! This is what you need for a captivating focal point in your room.
Let your imagination run wild with this earth-inspired textured stone shape! Love it in your room!
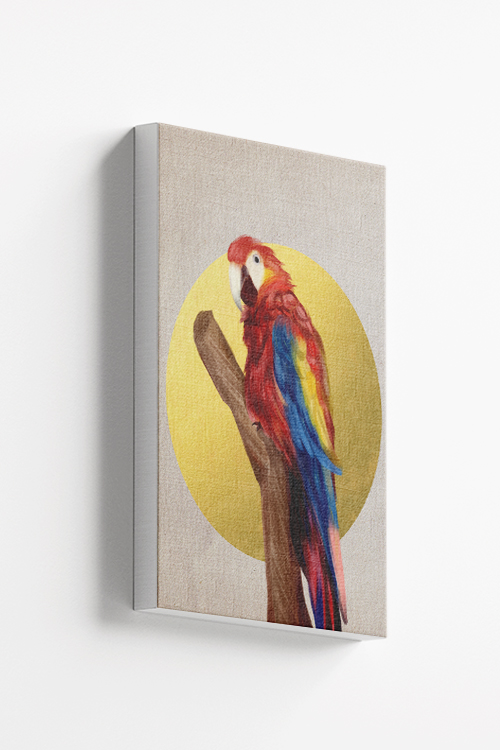
Calling all bird lovers! Don’t you just need this stunning parrot poster art in your life? Show off your love for our feathered friends with this eye-catching piece!
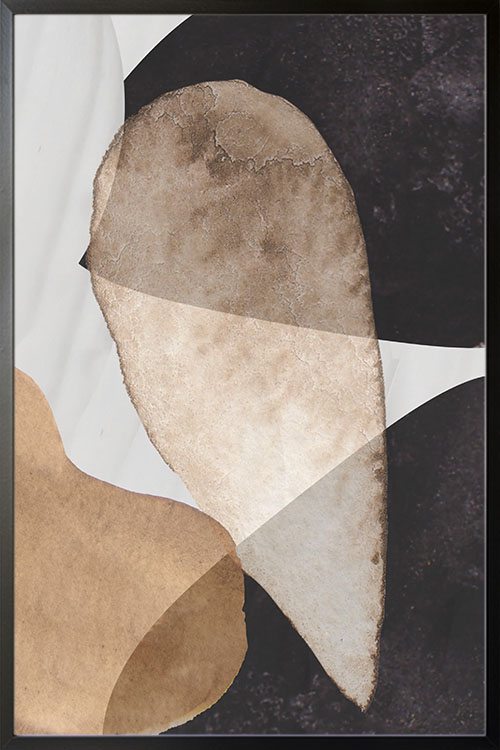
These textured stone shapes are giving us major earth vibes. The colors alone will complete your room decor.
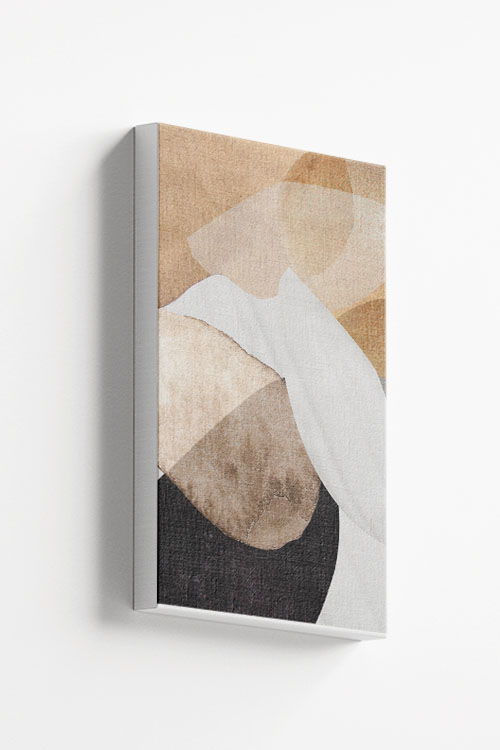
Bringing the outdoors in has never looked so good with these earthy textured art piece. A perfect addition to your space for a captivating transformation.
These textured stone shapes perfectly capture the essence of the Earth! This is what you need for a captivating focal point in your room.
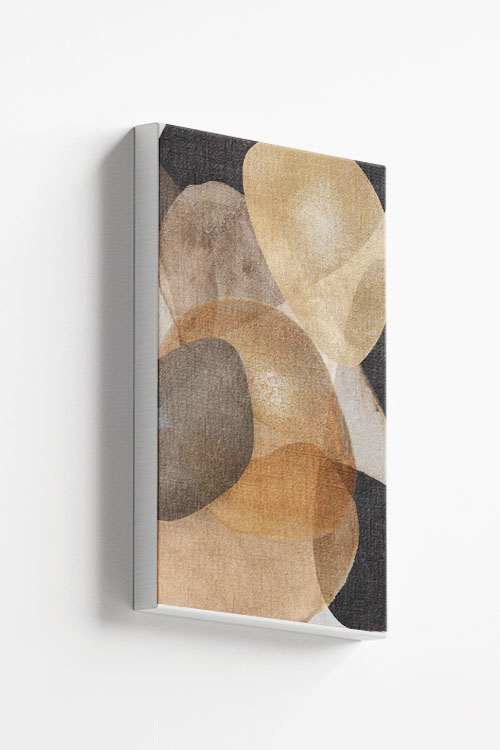
Let your imagination run wild with this earth-inspired textured stone shape! Love it in your room!
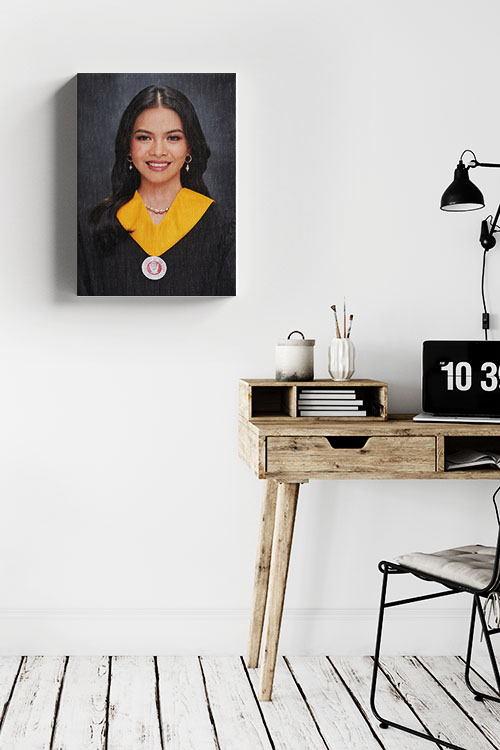
Creating personalized graduation posters for your loved ones is a beautiful way to celebrate their achievements and show pride. Here are some ideas and steps to help you create memorable and meaningful graduation posters.
Ideas for Personalized Graduation Posters
- Photo Collage:
- School Memories: Include photos from different stages of their education, from kindergarten to graduation day.
- Family and Friends: Feature photos with family, friends, and significant moments.
- Inspirational Quotes:
- Favorite Quotes: Add quotes that have inspired the graduate or reflect their journey.
- Custom Messages: Write a heartfelt message from family or friends.
- Accomplishments and Milestones:
- Academic Achievements: Highlight significant achievements such as awards, honors, and scholarships.
- Extracurricular Activities: Include achievements in sports, clubs, and other activities.
- Future Plans:
- College or Career Path: Showcase the graduate’s plans, whether it’s the college they will attend or their career aspirations.
- Bucket List: A fun list of future goals and dreams.
- Timeline of Growth:
- Life Timeline: A chronological timeline featuring critical moments from birth to graduation.
- Before and After: A side-by-side comparison of early school years and graduation day.
- Custom Art:
- Caricatures: Commission a caricature or custom illustration of the graduate.
- Digital Art: Use graphic design tools to create a unique and artistic representation of the graduate’s journey.
Steps to Create Personalized Graduation Posters
- Choose a Theme and Style:
- Decide on a theme that reflects the graduate’s personality and achievements (e.g., classic, modern, whimsical).
- Gather Photos and Information:
- Collect photos, dates, and critical information about the graduate’s achievements and memories.
- Select a Design Tool or Service:
- Create your poster using online design tools.
- Alternatively, hire a professional designer or use custom print services.
- Design the Poster:
- Layout: Plan the layout of your poster, ensuring a balanced and visually appealing design.
- Text and Fonts: Choose fonts that are easy to read and match the overall style.
- Colors: Use a color scheme that complements the photos and reflects the graduate’s school colors or personal preferences.
- Personalize with Details:
- Add the graduate’s name, graduation year, school name, and any particular messages or quotes.
- Incorporate personal touches like favorite colors, hobbies, or interests.
- Review and Edit:
- Double-check for any spelling or factual errors.
- Ensure all photos and text are clear and high-quality.
- Print and Display:
- Choose high-quality printing options (matte, glossy, canvas) based on your preference.
- Consider the size of the poster and where it will be displayed.
- Frame the poster for a polished look and to preserve it as a keepsake.
Tips for a Stunning Poster
- Consistency: Keep a consistent design style throughout the poster.
- Balance: Mix text and images in a balanced way to avoid clutter.
- Highlight: Make sure vital achievements and photos stand out.
- Proofread: Ensure all information is accurate and well-presented.
Example Poster Themes
- Classic Elegance:
- Neutral colors with gold or silver accents.
- Elegant fonts and formal layout.
- Modern Chic:
- Bold colors and contemporary design elements.
- Sleek fonts and dynamic layout.
- Whimsical Fun:
- Bright colors and playful graphics.
- Fun fonts and creative arrangement.
Creating a personalized graduation poster uniquely honors your loved one’s hard work and celebrates their accomplishments. It serves as a lasting memento of this significant milestone in their life.
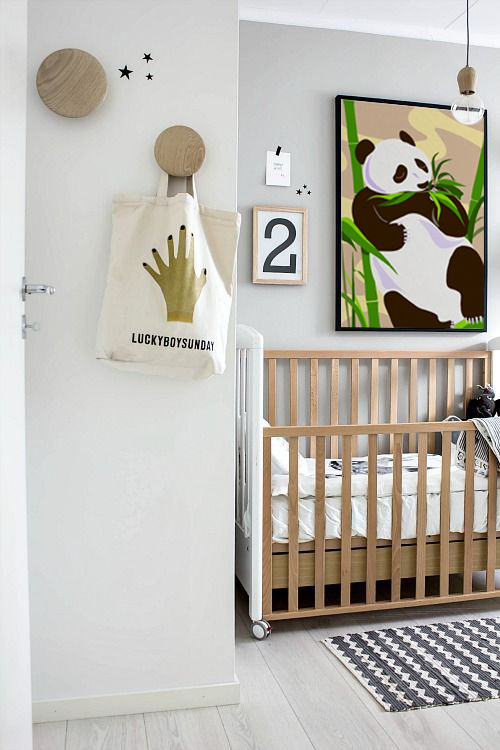
Decorating the walls of a nursery can be a fun and creative process. Here are some ideas to make the nursery walls both beautiful and stimulating for your baby:
-
Paint and Color Themes
- Soft Pastels: Light blues, pinks, yellows, and greens create a calm and soothing environment.
- Accent Wall: Paint one wall in a bold color or pattern to add interest without overwhelming the space.
-
Wall Decals and Stickers
- Removable Decals: Choose from various designs, such as animals, trees, or stars. They are easy to apply and remove.
- Growth Charts: Functional and decorative growth chart decals help you track your child’s height.
-
Wall Murals
- Hand-Painted Murals: A custom mural can add a magical touch if you’re artistic or can hire an artist.
- Wallpaper Murals: Pre-designed mural wallpapers are easy to install and come in various themes, such as forests, space, or underwater scenes.
-
Framed Art and Prints
- Children’s Illustrations: Frame pages from books or prints of popular nursery rhymes.
- Personalized Art: Create or buy art with your child’s name or initials.
-
Shelving and Shadow Boxes
- Floating Shelves: Display cute toys, books, and decorative items.
- Shadow Boxes: Create small displays with keepsakes or themed items.
-
3D Wall Art
- Animal Heads: Soft, plush animal heads can be mounted for a whimsical touch.
- Textured Art: Look for fabric or wooden pieces to add texture and depth.
-
Educational Elements
- Alphabet and Numbers: Decorate with educational posters or decals.
- Maps: A world map can be both decorative and educational.
-
DIY Crafts
- Bunting and Garlands: Make or buy fabric or paper garlands to hang on the walls.
- Handprint Art: Create art using your baby’s handprints and footprints.
-
Lighting
- String Lights: Soft, twinkling lights can add a cozy feel.
- Night Lights: Choose cute and themed night lights that double as decoration.
-
Interactive Elements
- Magnetic Boards: A magnetic chalkboard or whiteboard wall can be fun and interactive.
- Tactile Panels: Install panels with different textures for a sensory experience.
Remember to ensure that all decorations are securely fastened and safe, avoiding anything heavy that could fall or small parts that could pose a choking hazard. Enjoy the process of creating a unique space for your little one!