Decorating a child’s room can be a fun and creative endeavor. It’s a chance to spark imagination, foster a love for learning, and create a space uniquely theirs. Here are some tips to help you create a kid-friendly and fun home:
Choose a Theme
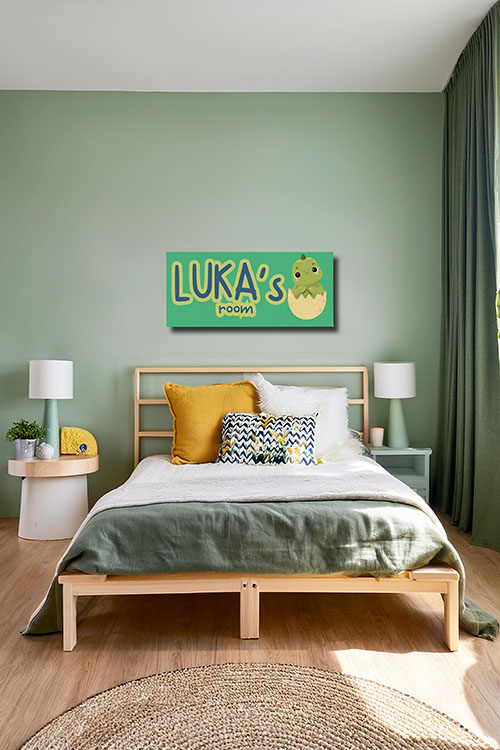
- Interest-based: Pick a theme that aligns with your child’s interests, such as superheroes, animals, or outer space.
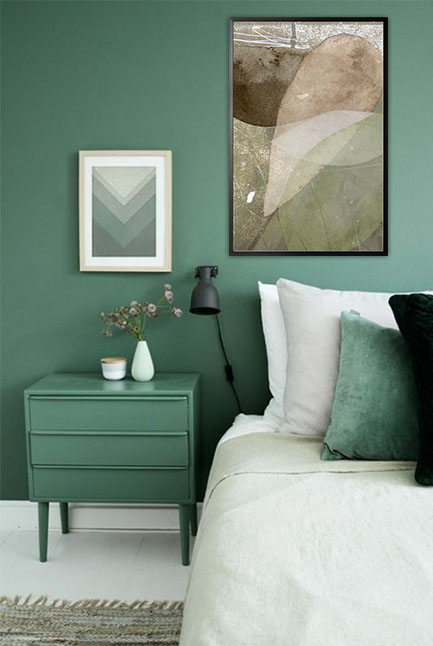
- Neutral: If you prefer a more timeless look, opt for a neutral color palette and add pops of color with accents.
Incorporate Playful Elements
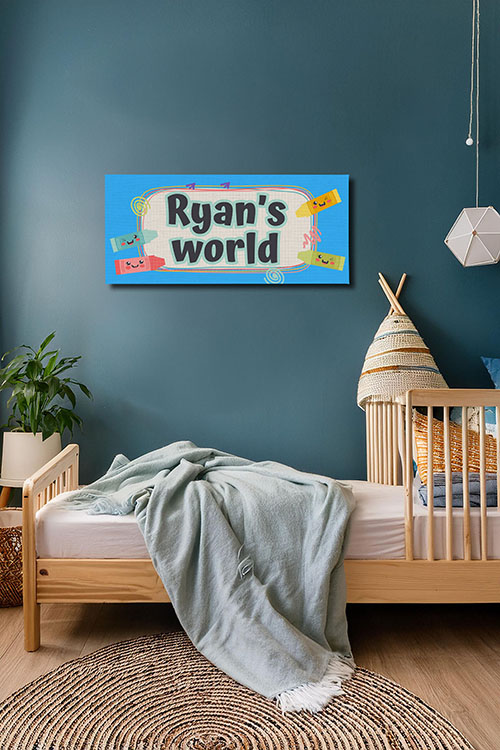
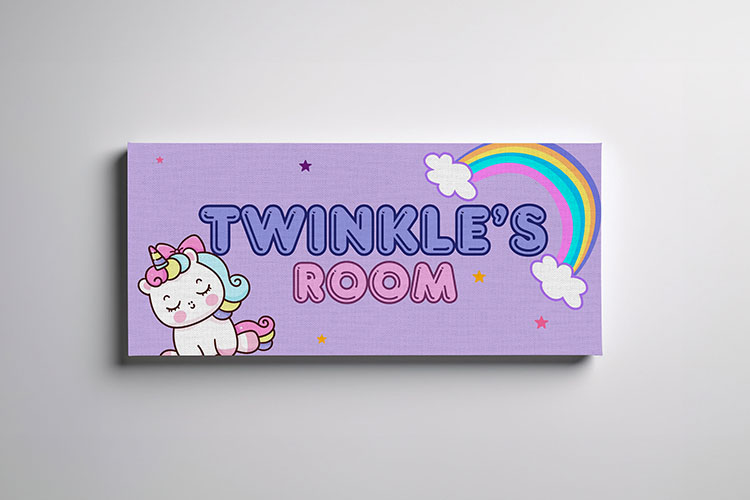
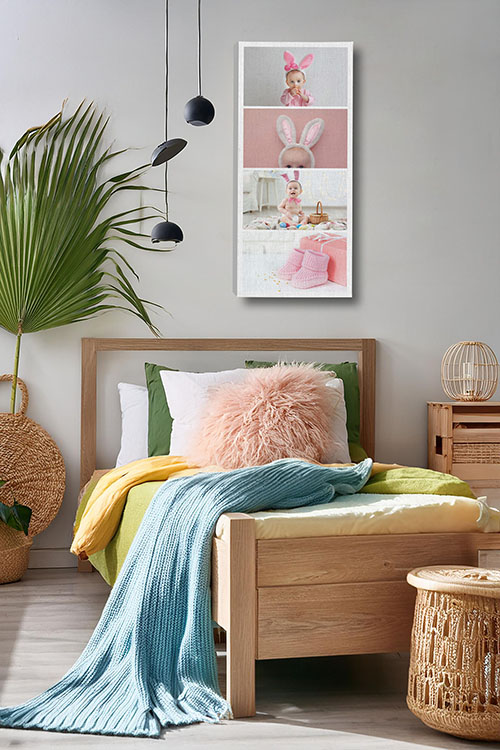
- Wall decals: Add playful wall decals or murals that spark imagination and create a fun atmosphere.
- Bedding: Choose bedding with fun patterns, characters, or colors your child will love.
- Toys and decor: Display your child’s favorite toys and decor items in a functional and visually appealing way.
Create a Cozy Nook
- Reading corner: Designate a cozy reading corner with comfortable seating, soft blankets, and a small bookshelf.
- Play area: If space allows, create a designated play area with toys, games, and a soft rug.
Prioritize Safety
- Furniture with rounded edges: Choose furniture with rounded edges to prevent injuries.
- Secure shelves and cabinets: Make sure shelves and cabinets are securely fastened to the wall to prevent tipping.
- Non-toxic materials: Use non-toxic paints, finishes, and cleaning products.
Encourage Creativity
- Chalkboard or magnetic board: Install a chalkboard or magnetic board to encourage drawing, writing, and creativity.
- Art supplies: Provide a variety of art supplies, such as crayons, markers, paints, and paper.
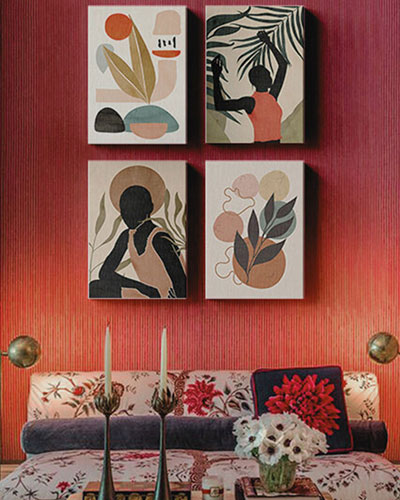
- Display their artwork: Hang your child’s artwork prominently to boost their self-esteem.
Involve Your Child
- Decision-making: Embrace the joy of letting your child be involved in the decision-making process, such as choosing colors, patterns, and decor items. This not only fosters their independence but also strengthens their bond.
- Personal touches: Encourage your child to add personal touches to their room, such as photos, favorite stuffed animals, or handmade crafts.
Consider Age-Appropriate Decor
- Toddlers: Keep it simple and focus on safety and comfort. Use soft materials, easy-to-clean surfaces, and age-appropriate toys.
- School-aged children: Incorporate their interests and hobbies into the design. Consider adding a desk for homework and a bulletin board for displaying achievements.
- Teenagers: Give them more autonomy in decorating their space. Allow them to express their style and preferences.
Remember, the most important thing is to create a space that truly reflects your child’s unique personality, where they feel comfortable, happy, and inspired. By following these tips and incorporating your child’s unique personality, you can design a room they’ll love for years.